dR Views
The Foundation of Your Model: Understanding dReveal Views
In the world of dReveal, views stand tall as the very foundation of your model's strength. These views, collectively known as dR Views, form the core that powers every aspect of your model's functionality.
Each dR view serves as a wrapper for a database object or any other existing dR view. This innovative approach allows for the abstraction of objects, enabling them to be utilized as layers in your model.
Note: dR views interact with elements available in the 'List' panel.
Imagine creating a dR view that directly communicates with a database table. This view can be designed to select only the essential columns, generate custom fields, and apply filters to isolate the desired values. Furthermore, you have the liberty to assign a meaningful name to this view, subsequently enabling its reuse across various sections within the model.
Managing dR Views
Effortlessly manipulate your dR views by employing the actions accessible within the Views panel. The Views panel is your gateway to adding, editing, or removing dR Views according to your specific requirements.
Note: It's important to exercise caution when editing or removing views, as such actions may have an impact on other views that are currently in use within your model.
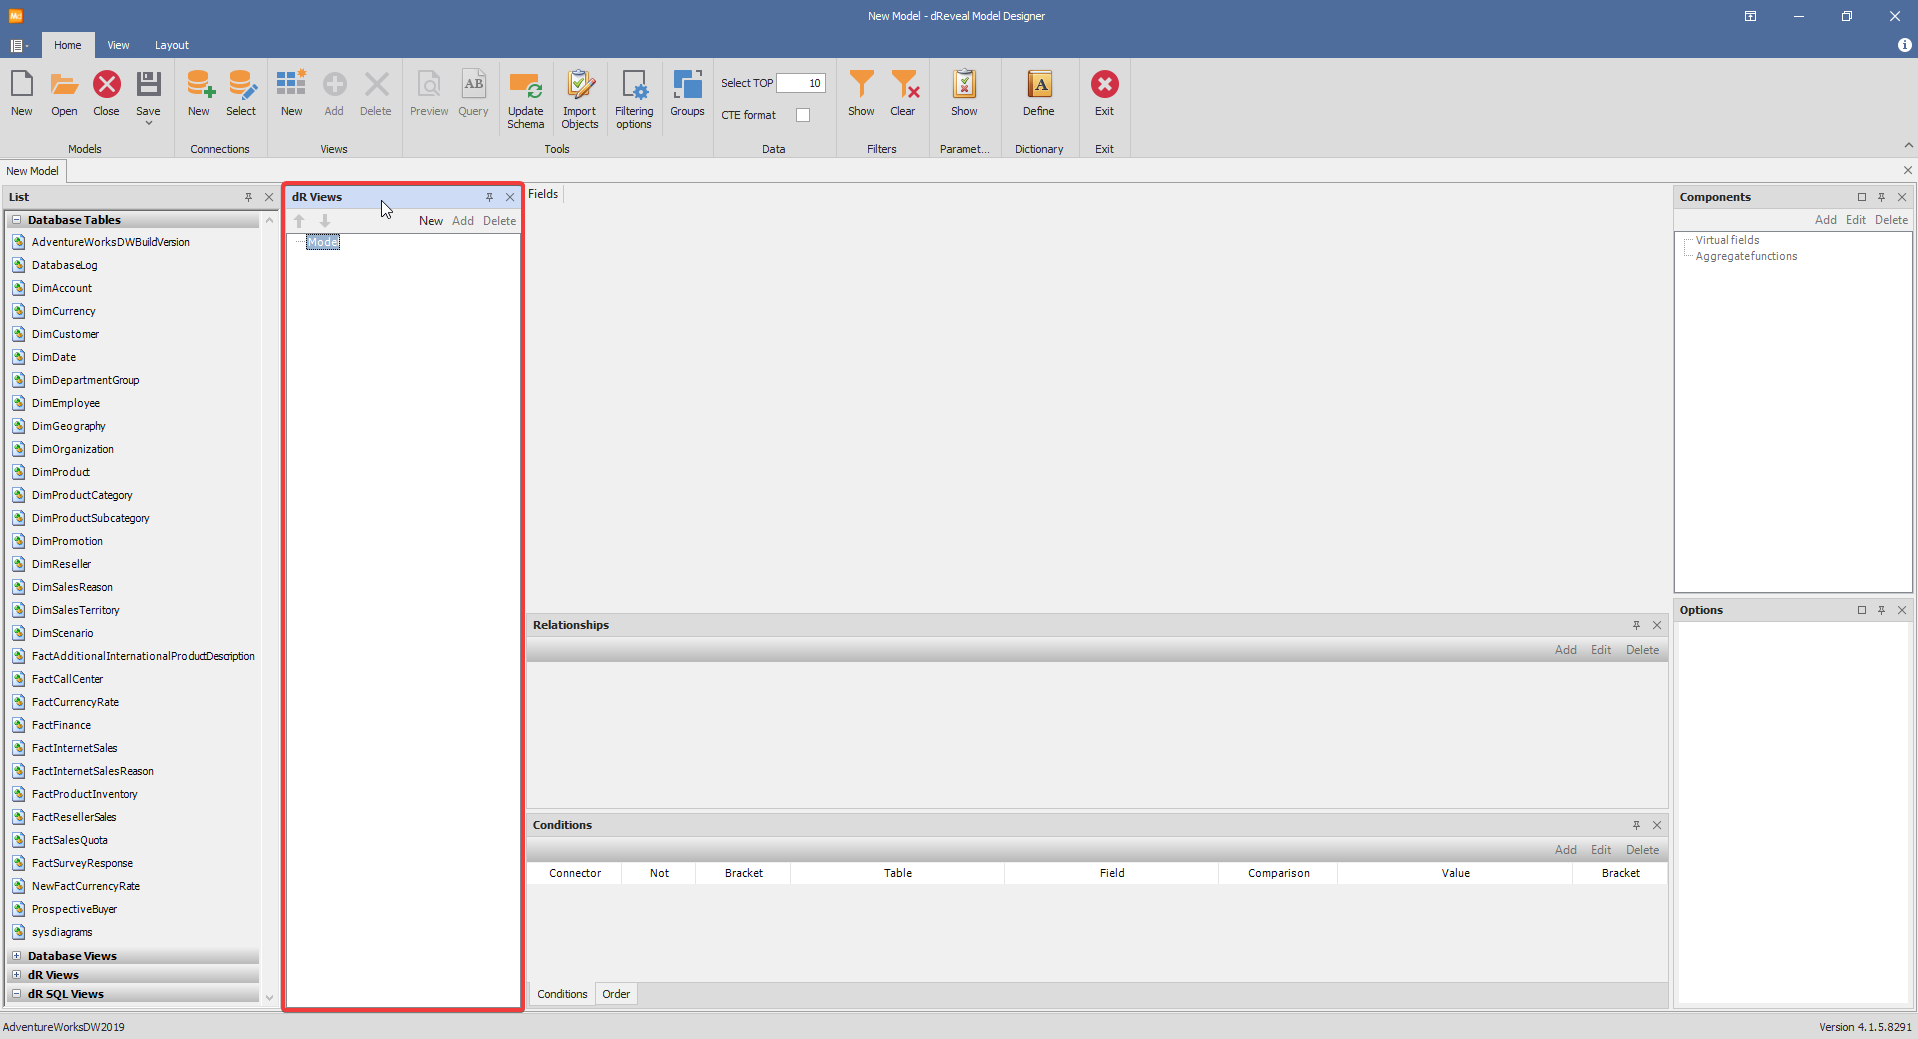
Step-by-Step: Adding a dR View
In the visual example depicted below, we illustrate the process of adding a dR view that draws from a database table named "customer". This newly introduced dR view effectively encapsulates the essence of this database table.
-
Adding a New View: Click on "New" button for adding a new dReveal view to your model.
-
Renaming a View: Personalize the view names according to your preferences. By renaming dR views, you can reflect the essence of the encapsulated data and make it more identifiable within your model.
-
Selecting Objects from the Database: Choose relevant objects from your database to incorporate into your dR view. This selection process forms the basis for the data analysis within the view.
-
Incorporating Objects into the View Scope: To integrate selected database objects into the view's scope, simply click the "Add" button. This action solidifies the connection between the chosen objects and the view itself.
The options for adding, editing, and removing elements are accessible both within the dR View panel and through corresponding icons on the ribbon

Note: It's a good idea to stick to standard naming conventions for dR views. This will come in handy for future purposes. Simply by reading the name of the dr View, you should be able to understand its purpose.
Once a database table is encapsulated within a dR view, you have the capability to fine-tune the presentation of data.
Fields Panel
By selecting only the pertinent columns from the fields panel, the view is optimized for efficiency. When interacting with this dR view afterwards, you will notice that only the enabled columns are visible for the dR view context.

In the upcoming sections of the documentation, we will take a closer look at the modifications made to these dR Views. We'll delve deeper into the details.
With these insights, managing dR views becomes an intuitive process, allowing you to wield control over your model's components and enhance the precision of your data analysis.